
Black eyed peas are a traditional good luck food for New Year’s Day that dates back to the Civil War. Soldiers would take all the food that was available but leave the black eyed peas because they were considered a food that was fed to farm animals. The slaves that were still on plantations were glad to have the high protein food and the flavorful peas became associated with good luck – lucky to have food. They were traditionally served with collard greens or some other greens, corn bread and pork. The pan drippings added flavor for the greens and the corn bread helped soak up any extra liquid. The gold color of the corn bread was associated with gold and good fortune – money due in the new year. Read more: tripsavvy.com.
To make plain black eyed peas or other larger beans such as pinto or kidney beans:
- Sort the beans for any that look discolored or shriveled and occasionally small rocks may have been missed by the sorting machines.
- Rinse the beans or peas in water and drain.
- In a large stock pot add water to cover the beans with about four inches extra at the top.
- Leave the beans or black eyed peas to soak over night, about eight hours; or for the quick method, put on the lid and place the stock pot on medium high heat. Bring it to a boil for one minute and then remove it from the heat and let it sit covered with the lid for one hour. Split peas and lentils and very small beans such as adzuki don’t need the overnight or hour long presoak.
- Drain the soak water as it helps remove some of the gassy effect (by removing some less digestible starches or something like that) and replace with fresh water to cover plus a couple extra inches if the goal is to have beans without much extra soup stock liquid. For two pounds of beans add eight cups of water for a pot of beans intended to be served without much soup broth or add about 12 cups of water if more broth is desired.
- Place the stock pot back on medium high heat with the lid on and bring back to a slight boil, for a large pot it might take a few minutes. Reduce the heat to a medium low so the stock continues to bubble gently – a simmer. Cook for one and half hours total.
- For soup with vegetables I let the beans cook for the first half hour without additional spices or vegetables as those cook in less time. I added about 2-6 cloves of garlic depending on whether small or large, minced, 2-4 tablespoons of cumin/coriander mix, 1 tablespoon of rosemary, 1 large sweet potato, peeled and chopped in a half inch dice, about 3 cups, 6 large celery stalks chopped in half length wise and then sliced, about 1/4 inch dice, about 3 cups in all, 4 small carrots cut in half and sliced made about 1 cup chopped, add to the soup stock pot.
- In a separate pan saute 2 small or 1 large onion chopped in a 1/4 inch dice until wilted, but not necessarily caramelized – browned. Add the sauteed onion to the soup stock pot. Sauteed onion can be easier for some people to digest then boiled onion.
- After all that work another half hour is likely to have elapsed, add more herbs if desired. I added 1 teaspoon of thyme, and 1 tablespoon of Italian seasoning.
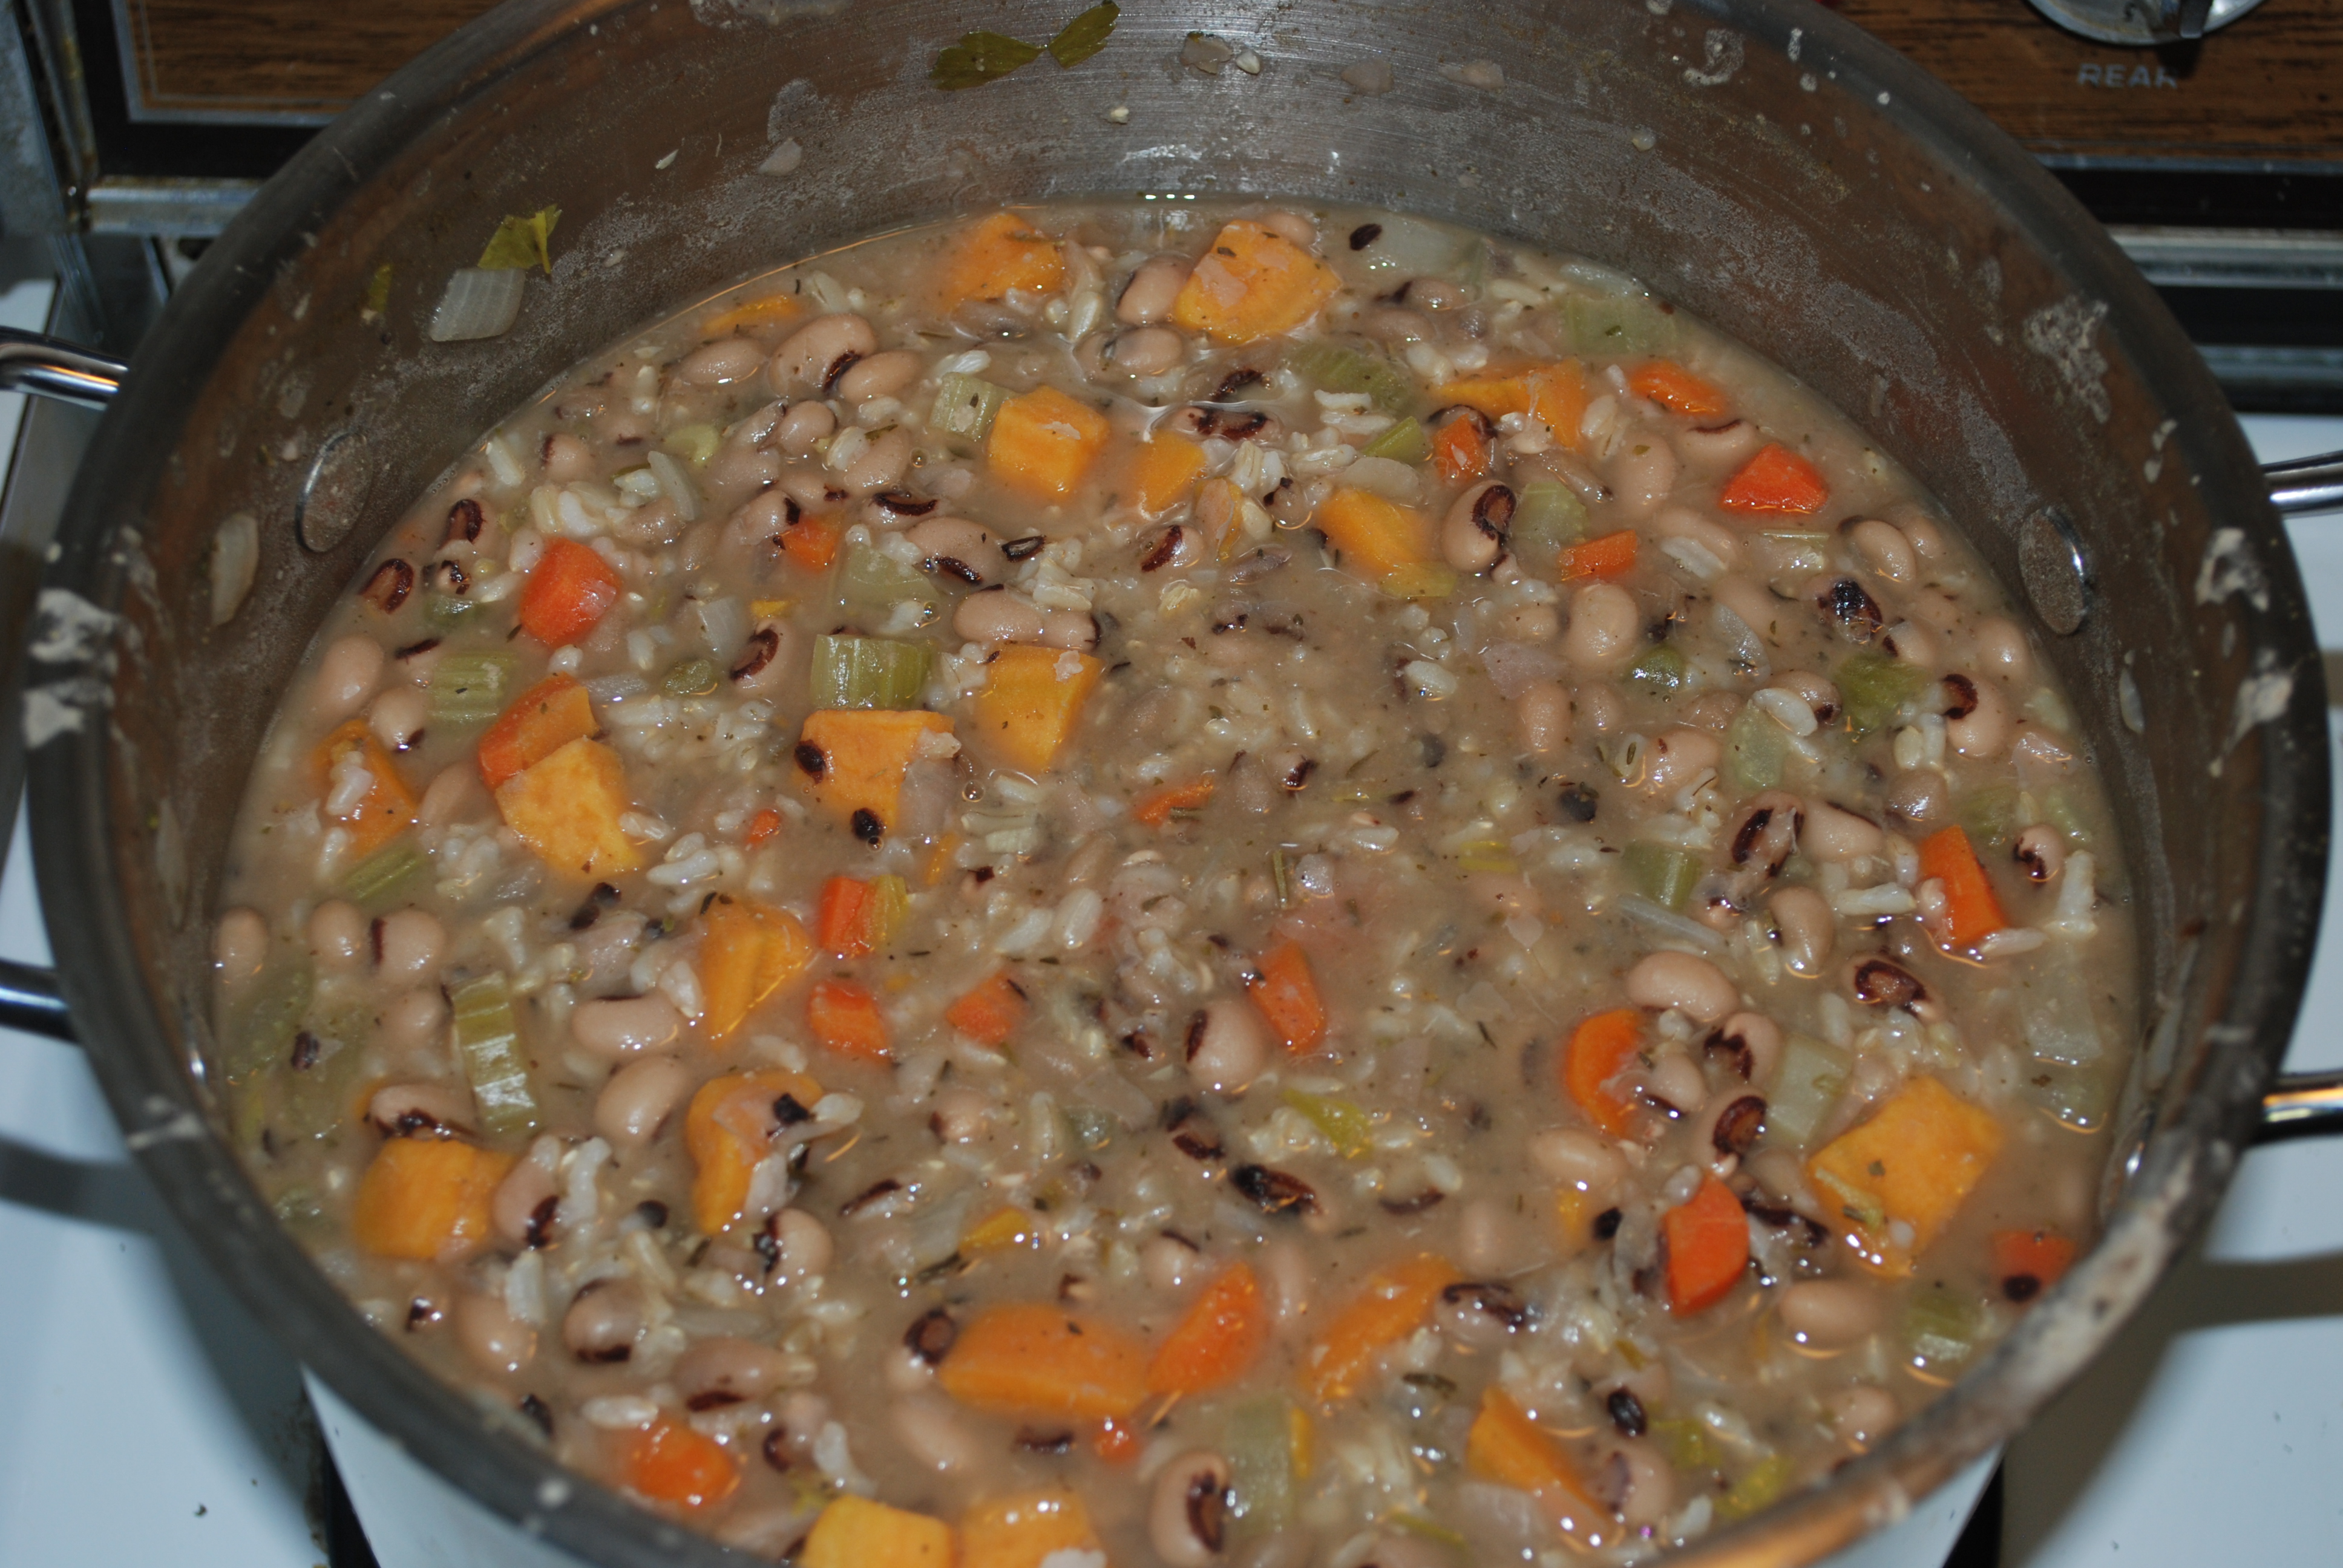
Since I am no longer lucky enough to be able to eat corn bread due to autoimmune symptoms I prepared two cups of rice in a separate pan and combined it with the soup when the vegetables and beans were done.
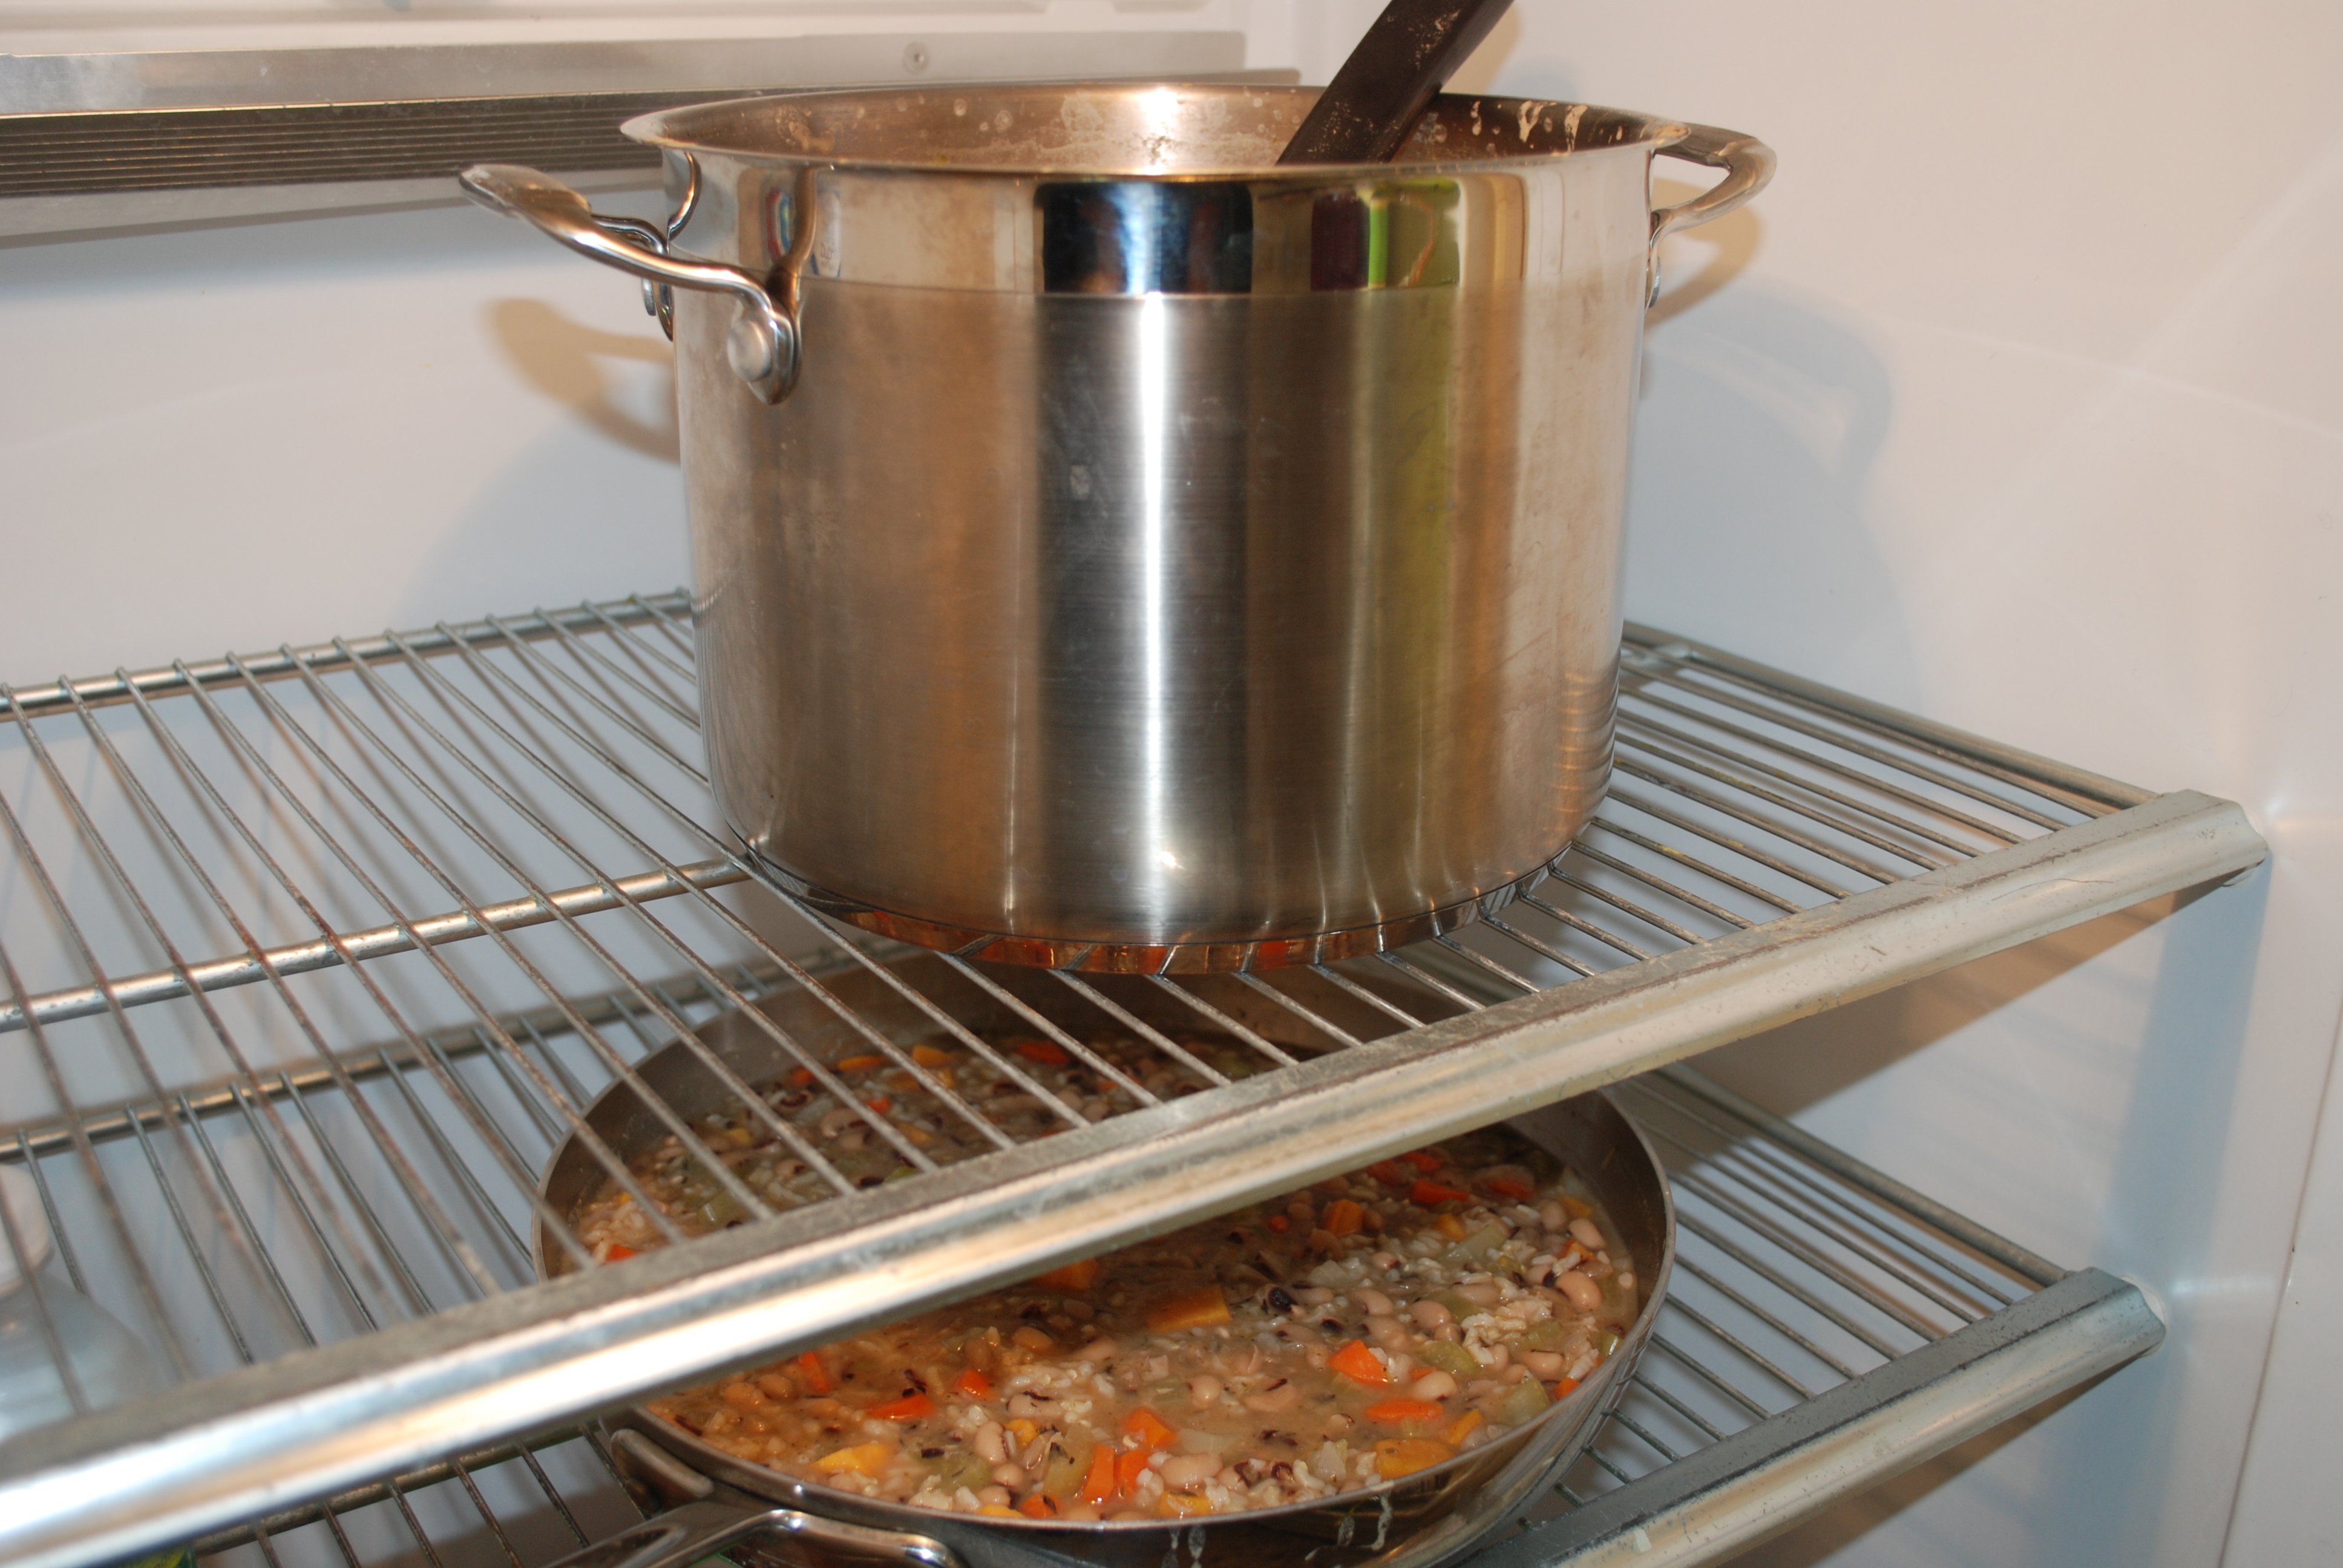
A large batch of soup ideally should be chilled in small glass or heat resistant containers or stir the soup in a large container or a couple larger containers in the refrigerator occasionally until the soup is chilled before adding to a plastic container.
I add salt at the table as we only taste salt that is on the surface of the food and unlike in baked goods there is no chemical reaction that requires stabilization by salt. If you forget the salt in a baked good it will likely have a crumblier texture. Baked goods are chemically recombining the ingredients into a new molecular form. Soup is more of a watery base with stuff floating in it.
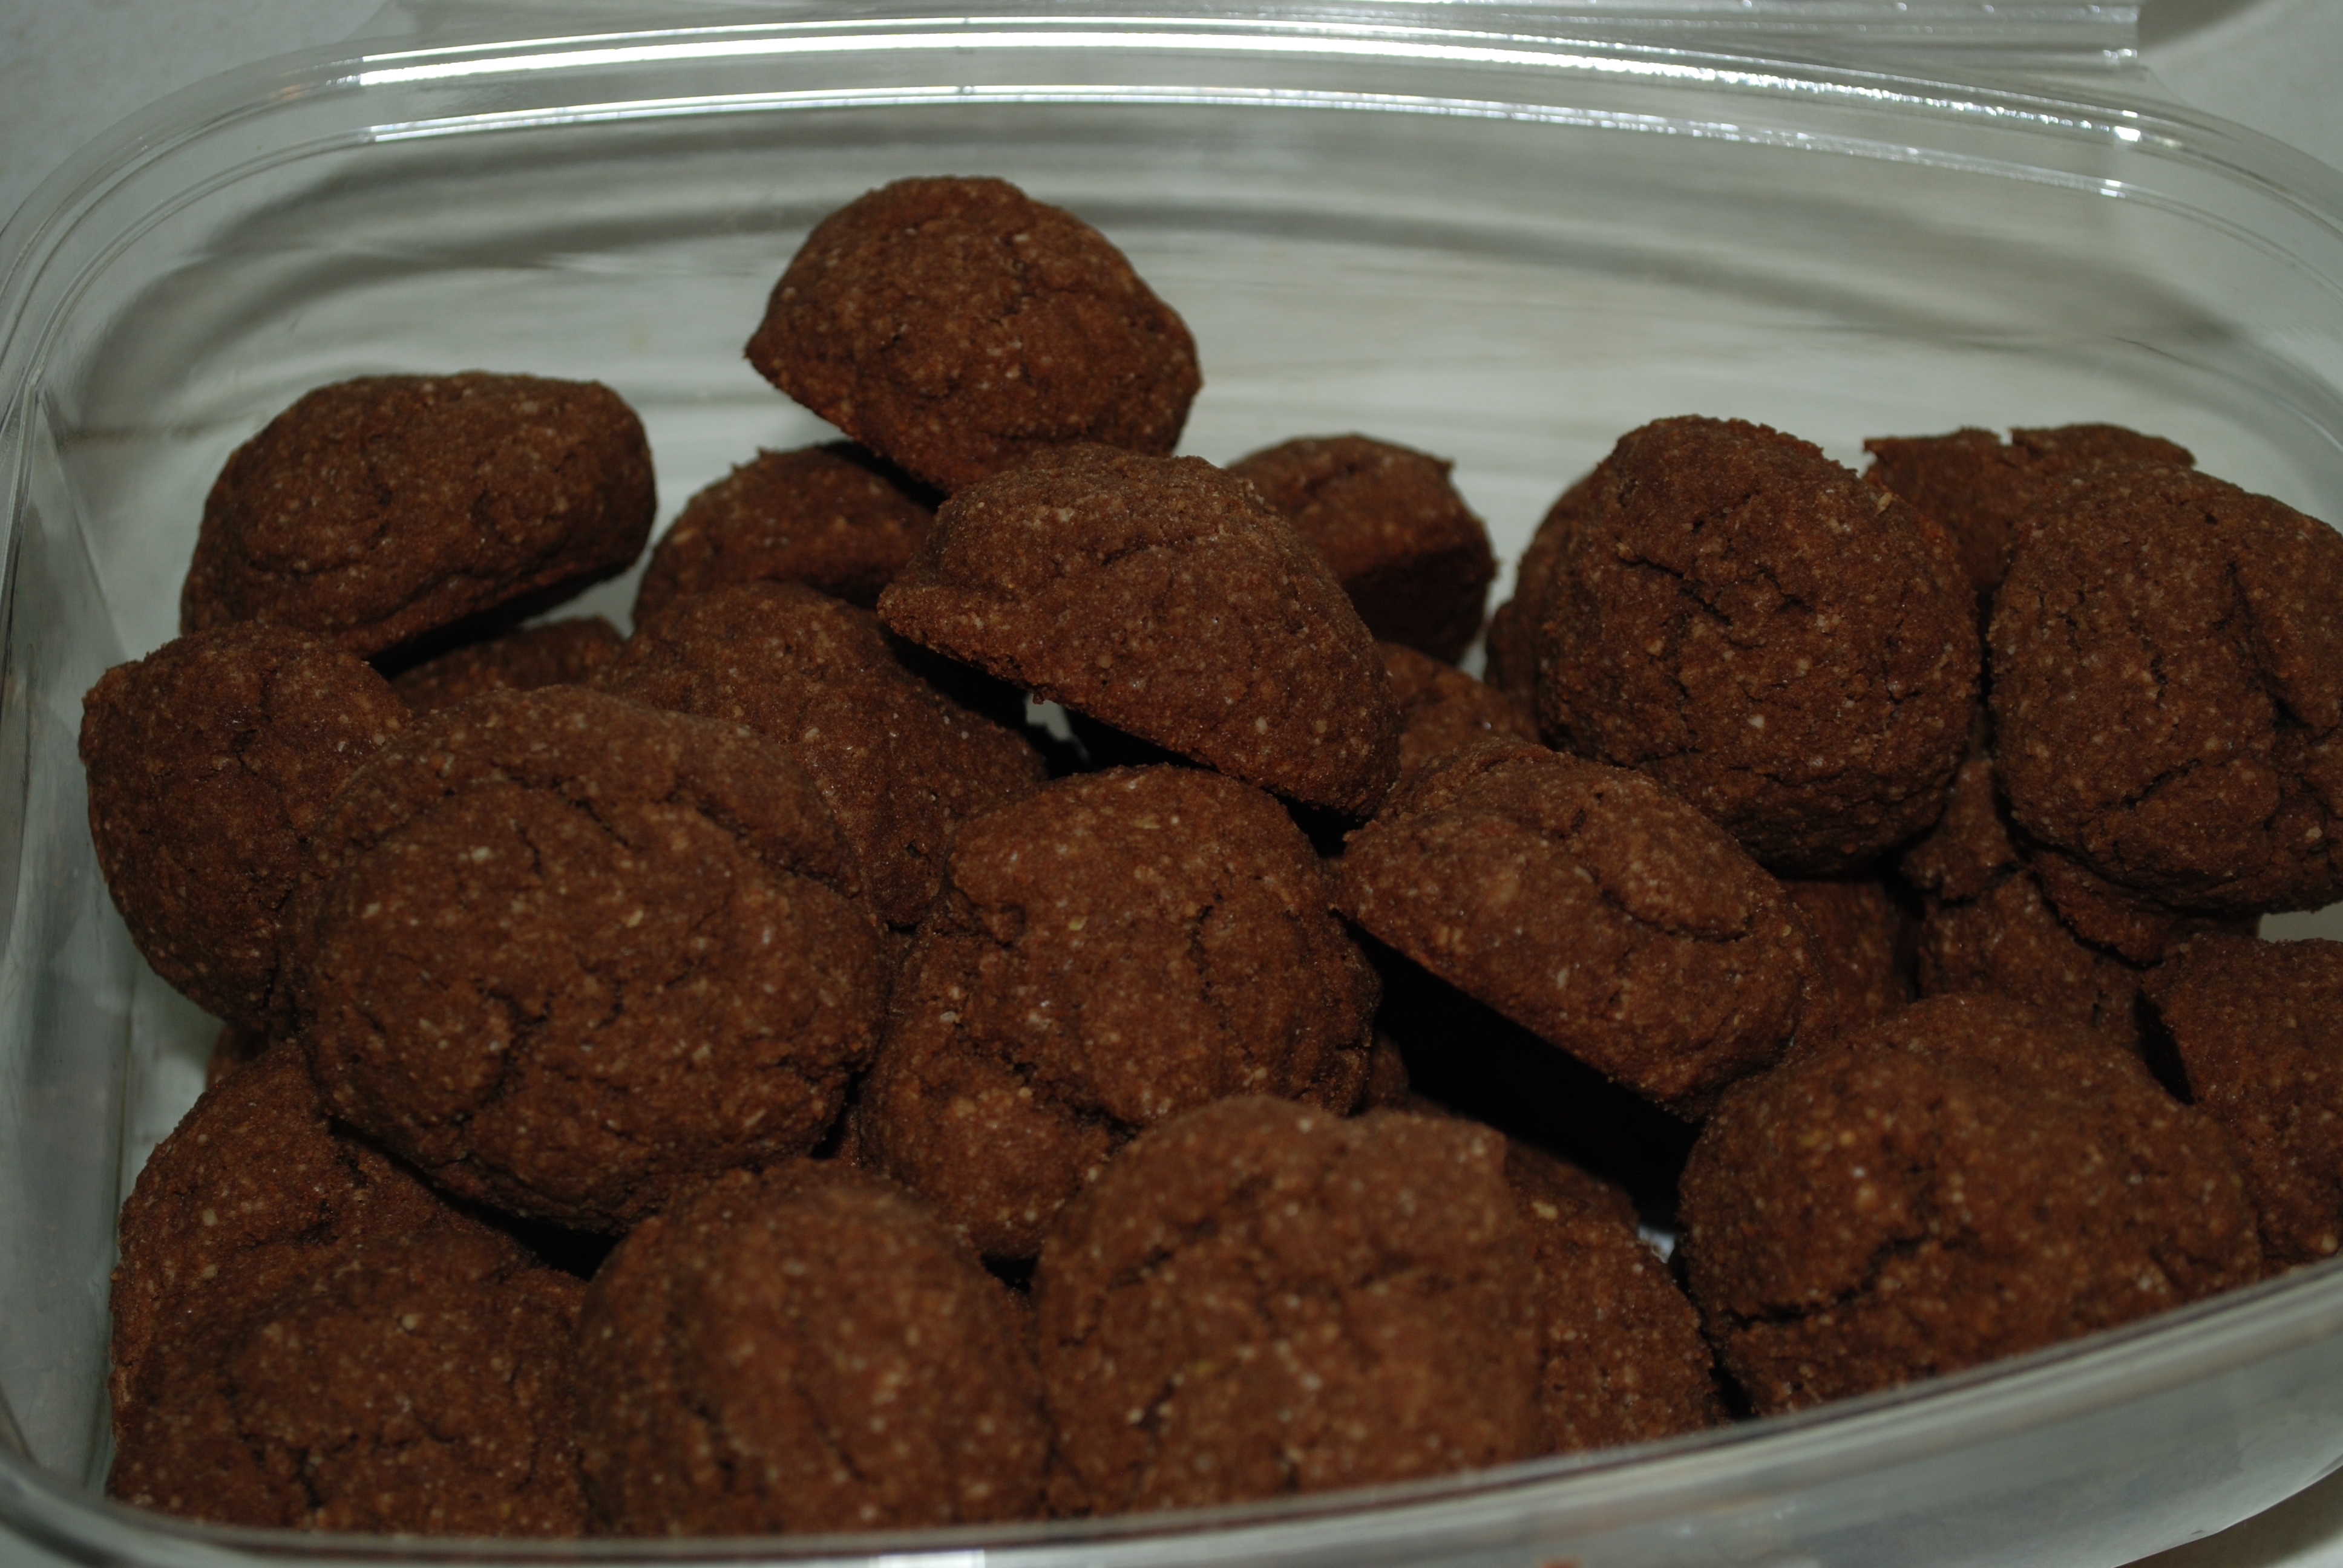
Speaking of baked goods – a cookie modification to the eggless, gluten free recipe on my newer website (Chocolate Chip Cookie). These cookies are dairy free as I use baking cocoa and no chocolate chips. They are slightly less sweet and would have an increased amount of protein due to the substitution of almond meal for the buckwheat flour in the other recipe:
Chocolate Cookies
Makes 48 cookies, bake at 350’F for approximately 20-25 minutes.
- 3 Tablespoons Golden Flax meal, ground
- 10 Tablespoons of Boiling Hot Water,
Step 1: — Combine the flax meal and boiling water and stir together for a few minutes until the mixture is thickened and looks a little like a watery porridge. Then add the melted coconut oil, brown sugar, vanilla and apple cider vinegar, stir and set aside until later.
- 3/4 cup Coconut Oil, melted
- 1 1/4 cups Brown Sugar
- 1 teaspoon Vanilla Extract
- 2 1/2 teaspoons Apple Cider Vinegar (This is needed in the corn free version of the recipe in order to make the Baking Soda work properly as a leavening agent. Baking Powder has cornstarch and it also has an acidic ingredient that Baking Soda doesn’t have.)
- 1/2 cup of water (The baking cocoa makes this a dry mixture and the flax meal works best with a moist dough, the amount of water needed to make a soft dough that doesn’t crumble may be slightly less or more depending on how packed or overflowing the cups of flour and spoonfuls of cocoa powder are. I added a couple tablespoons at a time and found I needed 8 in all which equals a 1/2 cup, and it would be easier to combine with the wet ingredients. This is a new recipe, first trial run with the baking cocoa, second try with the almond meal substitution, it made a nice chewy texture. I tried this recipe again and ended up adding a little extra flour. Depending on how rounded or how packed the measuring cups are the moisture/flour ratio may need to be adjusted at the end. The dough should be soft and sticky but be able to be rolled in balls if your hands are wet or sprayed with a little of the pan-spray oil.)
Step 2: — (actually step 1 combined several actions): — add the dry ingredients to a different larger bowl and mix together thoroughly:
- 1/2 cup Almond Meal
- 1 cup Brown Rice Flour
- 3/4 cup Coconut Flour
- 6 Tablespoons Baking Cocoa
- 1/2 and 1/8 teaspoon Baking Soda (*Baking Powder has cornstarch)
- 1/2 teaspoon Salt
- 1/2 teaspoon Cardamom Powder – this spice works well with the flavor of buckwheat flour. It tastes a little like cinnamon but is not quite the same.
Step 3: — mix the wet ingredients into the dry ingredients and stir thoroughly.
If desired these cookies could be made as double chocolate cookies by adding the chocolate chips at this stage as was included in the original recipe. I didn’t have any on hand.
- 1/2 to 3/4 of a ten or twelve ounce package of Dark Chocolate or Semi-Sweet Chocolate Chips. This batter is greasy seeming and the chips constantly pop out of the dough so I don’t even try to add a full package. It is easiest to work with the dough when the mix is more wet than dry, more like muffin batter than a typical “cookie dough“.
Step 5: — Preheat oven to 350’F., and form cookies with a scoop or with a pair of metal spoons as the batter is sticky and might even work in a cookie press if there weren’t chocolate chips. Form approximately one inch size balls of dough. Place about 24 on a pre-oiled or nonstick cookie sheet.
Step 6: — Bake in the center of the oven and/or rotate the top and bottom pans after 15 minutes of baking. Bake for 20-25 minutes until slightly golden brown.
Step 7: — Allow to cool slightly before eating and store in an airtight container once they are cool enough to no longer be emitting steam. The cookies keep for about a week or until they are all eaten, whichever happens first. They can also stored in the freezer once they are baked or as a cookie dough to be formed into cookies and baked at a later time for a treat fresh out of the oven with less work.
Disclaimer: Opinions are my own and the information is provided for educational purposes within the guidelines of fair use. While I am a Registered Dietitian this information is not intended to provide individual health guidance. Please see a health professional for individual health care purposes.